About Snipping
With DataSnipper you can cross-reference Excel with supporting evidence, like PDFs, images, MS Word, and Excel files. The references are stored in the workbook. This makes it very easy to review audit procedures.
Ready to Snip?
Join our community of 500,000+ audit and finance professionals already using DataSnipper during Busy Season. Book demo now!
Prerequisites
- DataSnipper workbook opened with an imported document visible in the document viewer
Many snips to one cell
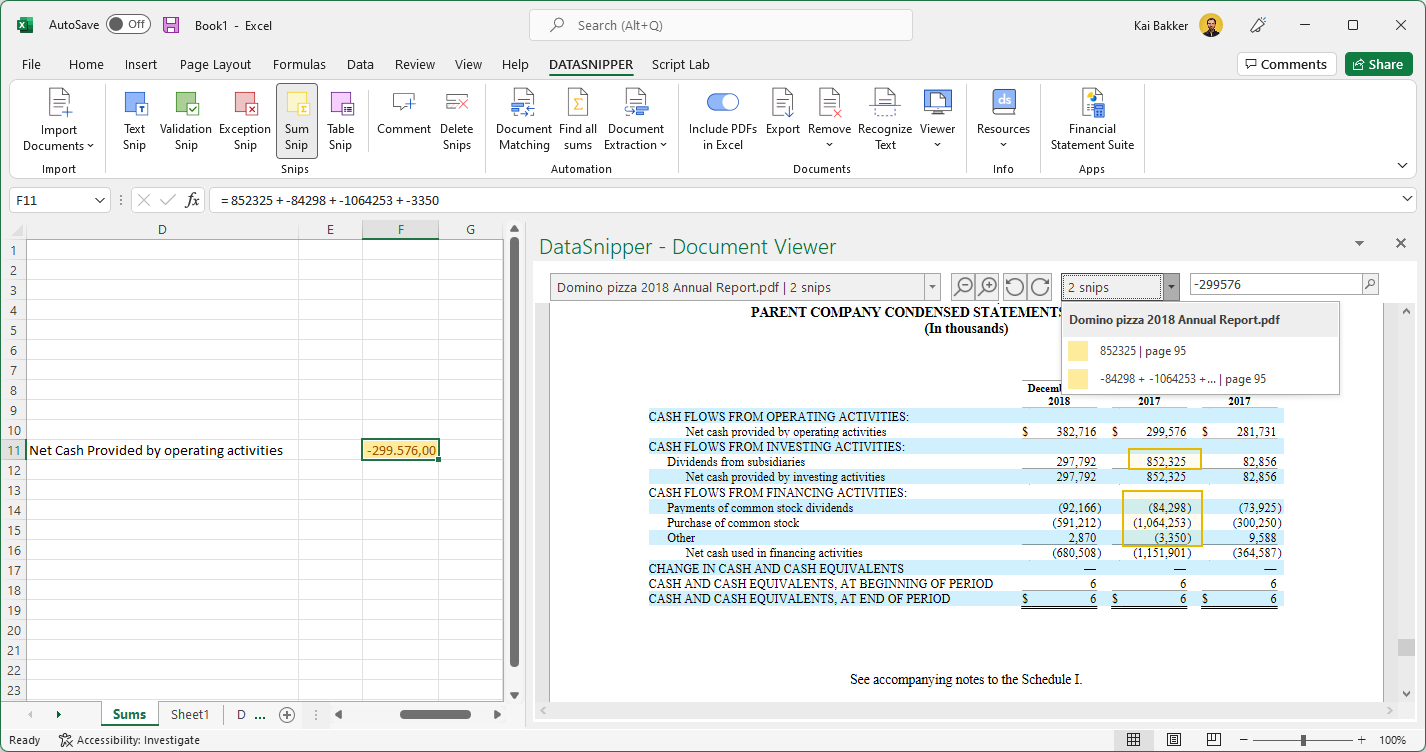
Use CTRL to snip the relevant elements in the PDF documents. You can also make snips in multiple PDF documents. For example, when using the Validation snip to document a signature on a contract with the signature list you received from your client.- Select an empty cell
- Create any snip by click and dragging
- Press and hold the CTRL key on your keyboard, creating a new snip to the same cell by clicking and dragging.
One snip to many cells
You can easily connect a single snip to multiple cells.
1. Copying a snip with CTRL + C and pasting it with CTRL + V in the desired cell, you can create as many references to one snip as necessary.
This will create an Excel reference to the original snip, this allows you to have multiple cells referencing the same snip.

The above steps can be combined to connect many snips to many cells.