Video Tutorial
Prerequisites
- Received documents from client
- Sample data ready in Excel
- Determine the data fields you like to test
Start procedure
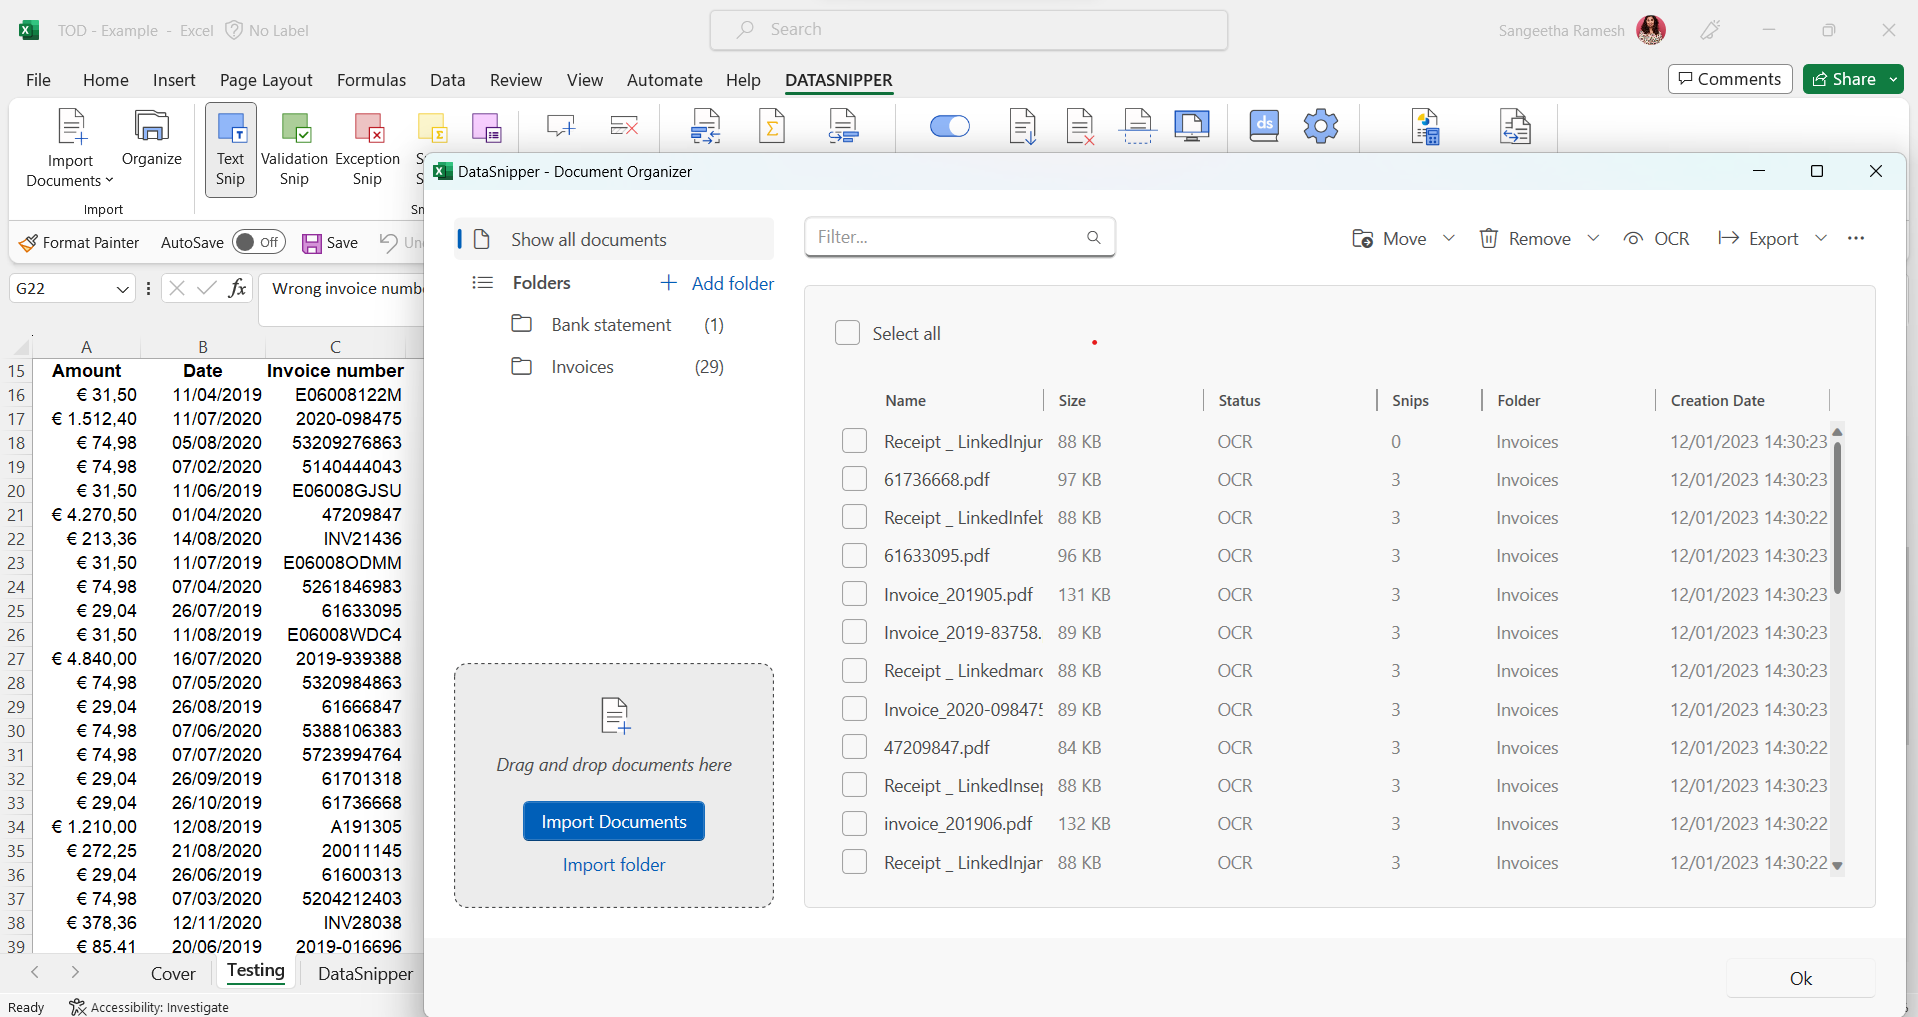
- Start by importing your supporting evidence including invoices, and bank statements.
- Click on Document Organizer and create folders for each type of document.
- Click on Document Matching and “Start new Document Matching”. Then, select your sample data. If your sample data includes headers, check the "First row includes headers".
- Select Use document folders & check the Invoices and Bank statements folders.
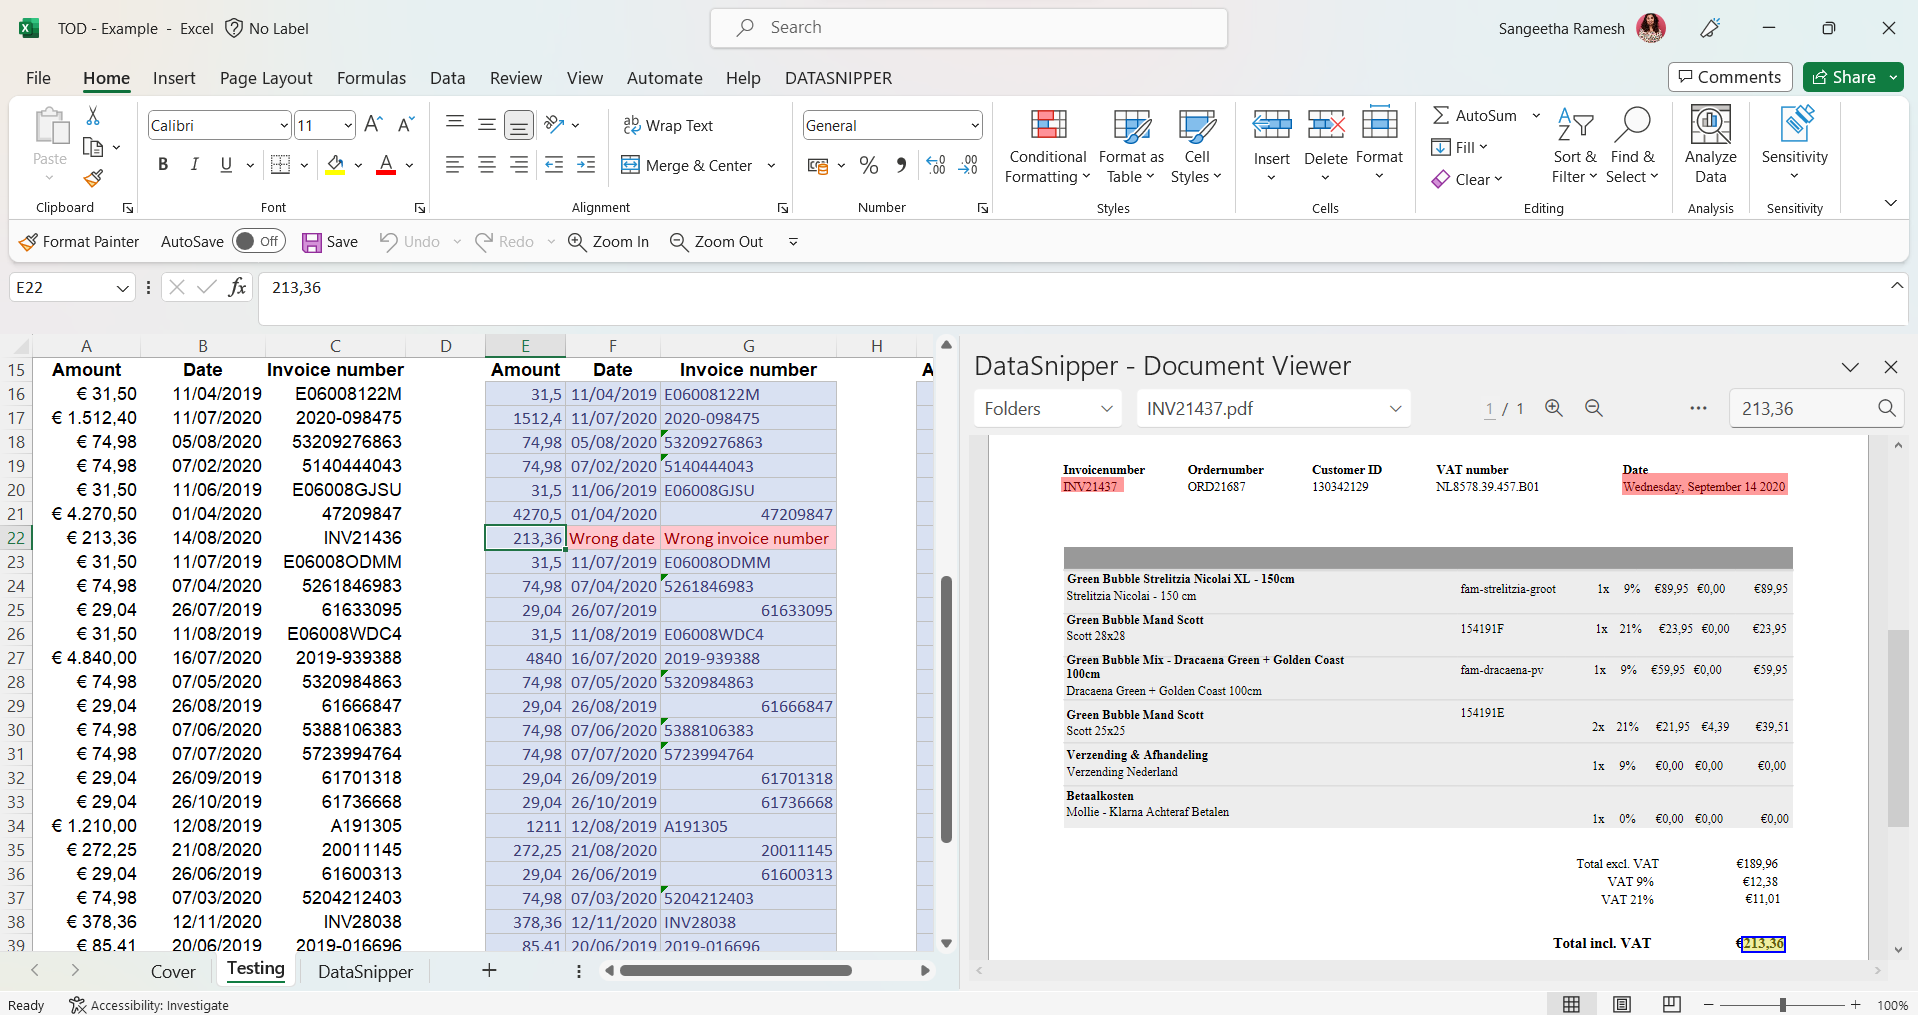
- Cross check the output columns and adjust them according to your procedure. Click Match all rows and DataSnipper will automatically match the input and output columns for you.
- Once the match is complete, you can review the output by moving through the snipped cells.
Increase the quality of your Test of Detail by enabling advanced features within Document Matching. See more information on Advanced Document Matching Features here.
Sharing the file
- You can choose to exclude all documents before saving the workbook in your audit file, by selecting the include/exclude documents toggle.
- You have some options to delete specific documents, please click here to learn more.