Video Tutorial
Example
Here you can download the workbook shown in the video including all of the sample data and documents.
Tax Inspections - Example file
Template
Here you can download a blank version of the workbook shown in the video to use or customize for your own procedures.
Tax Inspections - Template file
Prerequisites
- Supporting documentation from your client
- List of aspects/data fields to inspect
Start procedure
- Click import documents to import the documents for inspection
- Select the documents you want to import
- Upon import, DataSnipper will assess the files. Whenever documents do not have a text layer (e.g. images and scanned documents), DataSnipper will prompt a notification in which it asks whether you would like Text Recognition to be applied. Text recognition will enhance the quality of the document and will enable you to search and extract text form PDFs, scans and images. For more information on Text Recognition, refer to this Knowledge Base article: How to use Text Recognition (OCR) to enhance the text quality
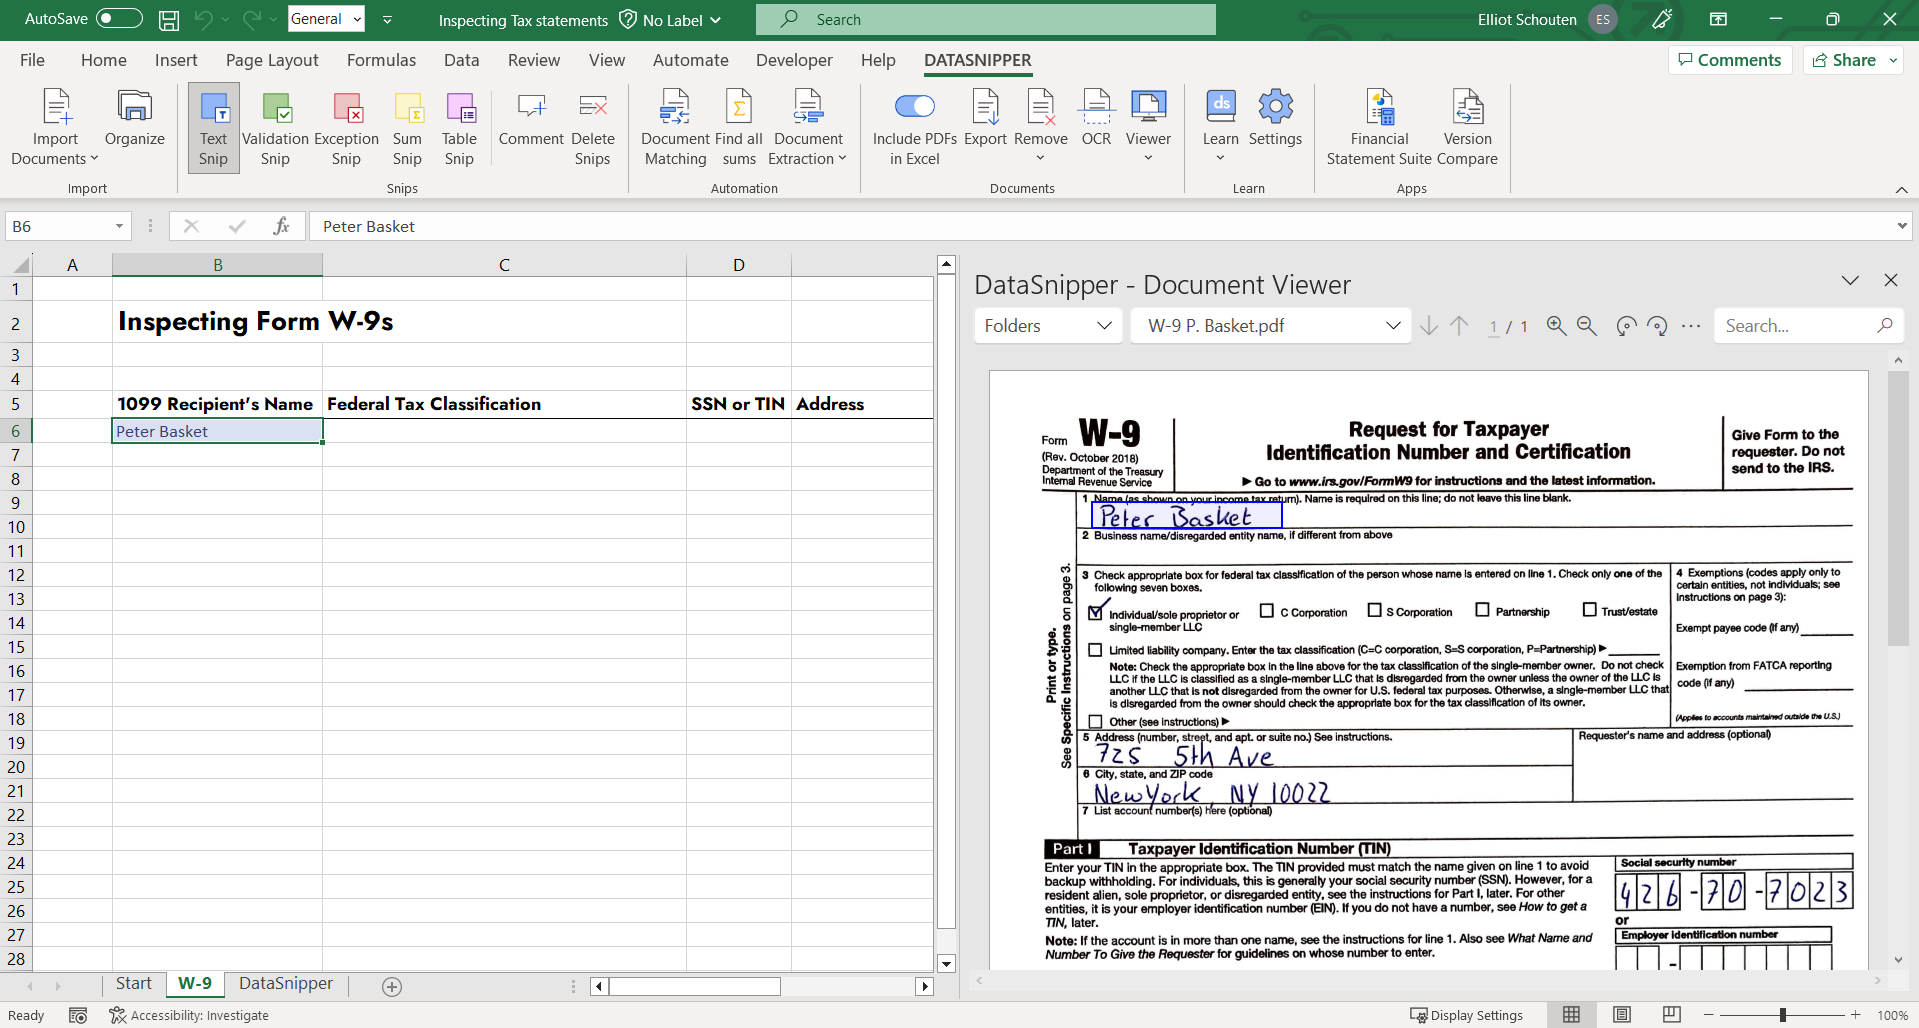
In these example documents, we will inspect tax payer certifications. The goal is to verify the completeness of the tax payer certification and whether the certification has been signed by the respective individual by cross-referencing our excel file with the underlying evidence.
- Select the text snip into activate mode and select the cell that you want to link to the PDF
- Draw a rectangle over the location of that data on the PDF in the Document Viewer.
- The data that appears in the cell is now linked to the rectangle on the PDF
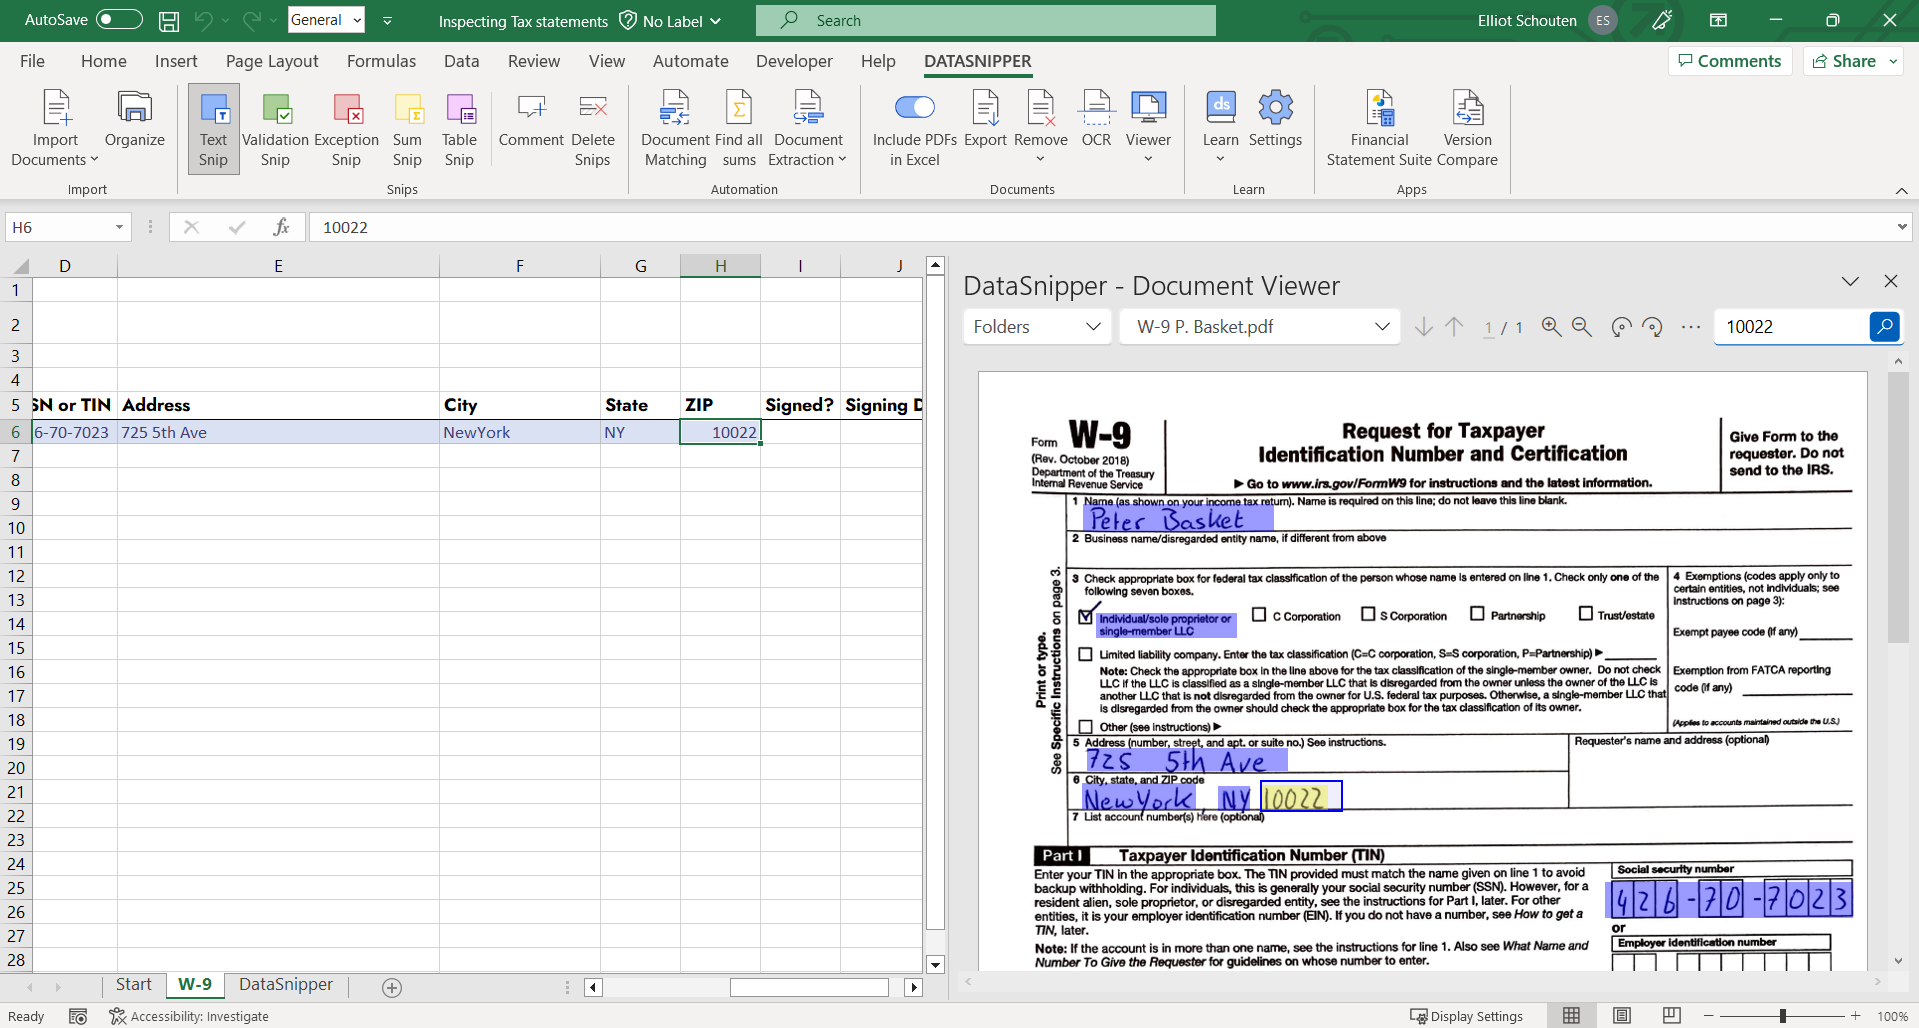
- Continue inspecting the tax payer certification and snipping the information into Excel as the adjacent cells will be filled automatically upon creating the next snip.
- In verifying whether non-text elements (e.g. signatures) have been included on the document, use the validation snip to evidence that it is in line with expectations or the exception snip in the event the signature is not in line with expectations. These snips do not extract the information but reference the exact location and include a tickmark (validation snip) or a cross (exception snip).
Smart Search to find information in any document
DataSnipper is also equipped with a smart search capability to allow you to easily find specific words, phrases, unique references, and balances within all documents. Simply click in the cell which includes this information, or add it to the search bar and you will be presented with all the occurrences across all of the documents you are performing inspection procedures on. You can then create manual text or validation snips to add a cross reference to this information. For more details on how to leverage Smart Search, refer to this article: How to Search & Snip using the smart search panel