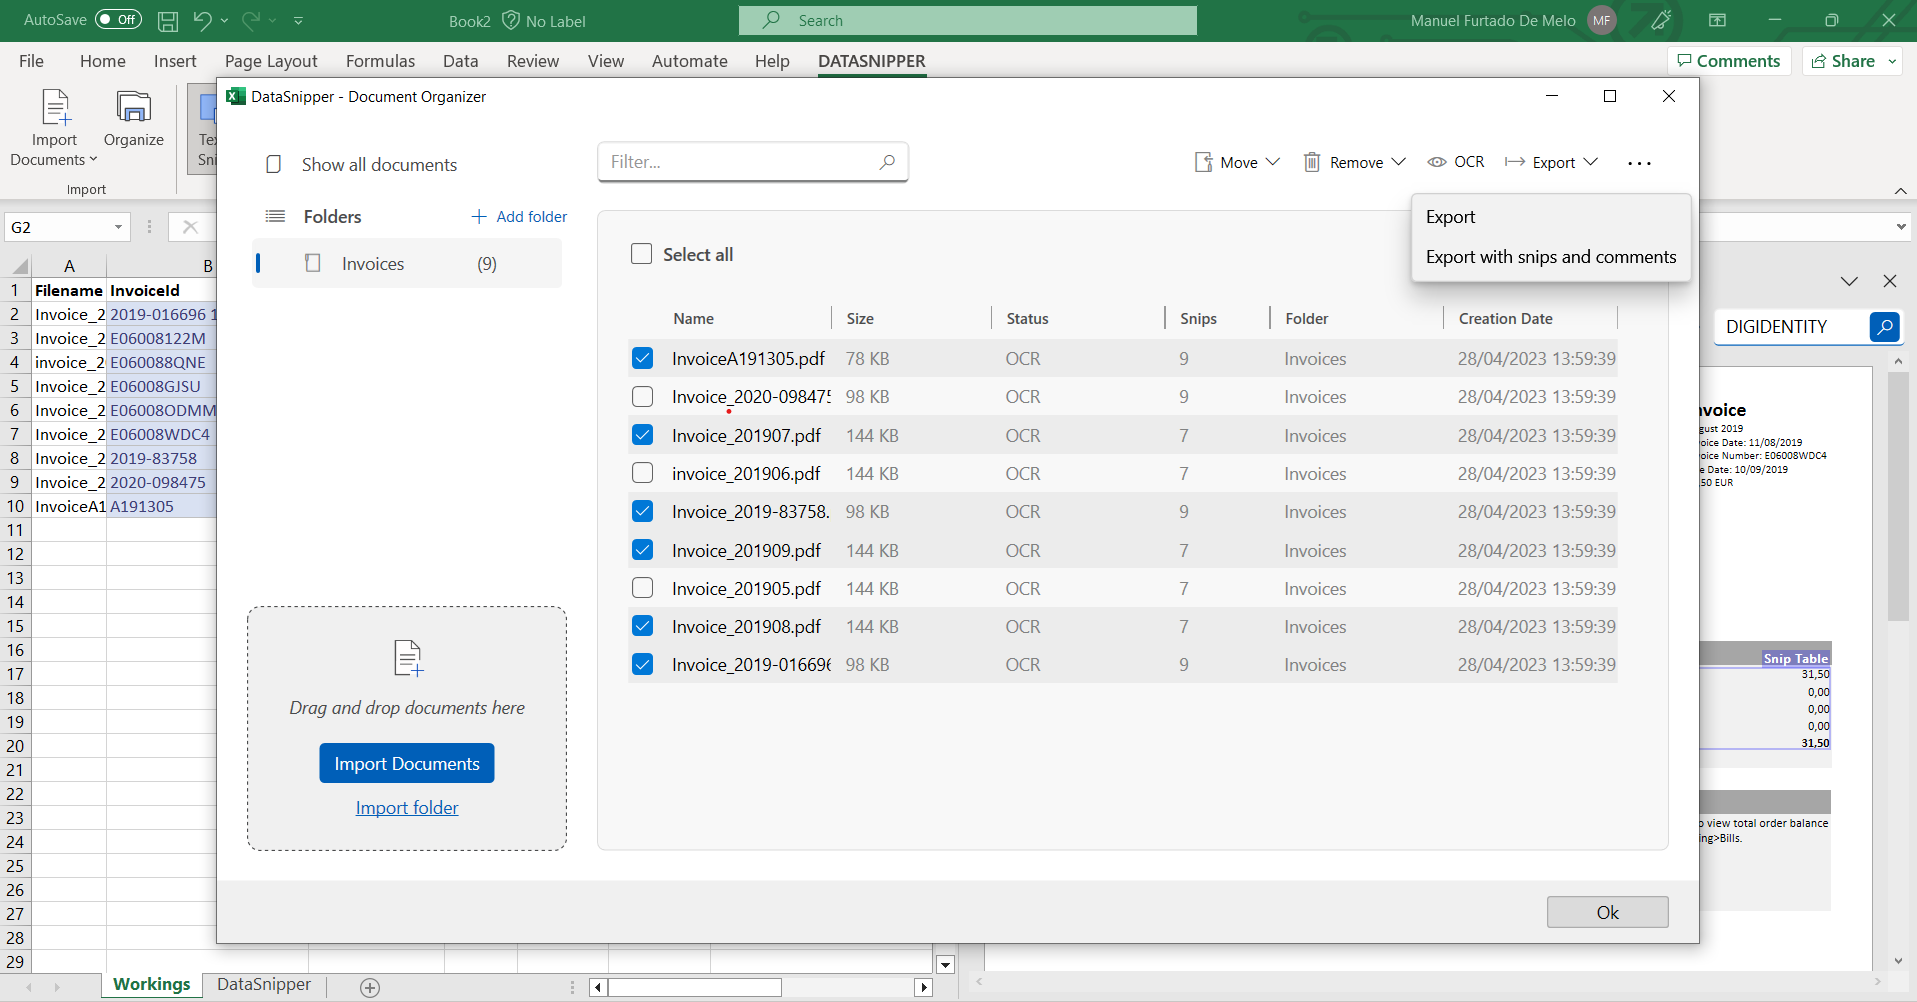
About Document Organizer
Document Organizer is a one-stop shop for separating your documents into folders in an organized manner, helping you to quickly start your audit procedures.
Document Organizer is only available for DataSnipper version 5.0 and later. Please get in touch with your Customer Success Manager to learn more about DS version 5.0.
Video Tutorial
Import documents and folders
In Document Organizer, there are multiple ways to import documents and folders.
- You can click on the Import Documents button to import one or multiple documents.
- You can click on the Import Folders button to import one or multiple folders.
- You can simply drag and drop the documents/folders you would like to import to Document Organizer.
Arranging Folders
- You can add folders by clicking on Add Folder button.
- The options button will allow you to rename or remove the folder.
- If you would like to move documents into a folder, you can do so by dragging and dropping selected documents into the designated folder.
- Or you can click on the move button to move into a new folder.
Removing Documents
You can also remove documents in Document Organizer. You can remove:
- selected documents;
- pages without Snips;
- pages without the Exception Snips.
Additional Options
There are multiple functionalities of DataSnipper that can be directly found in Document Organizer.
- To enhance the quality of the text, you can manually run OCR on selected documents;
- Export your document with or without snips and comments;
- And, you can compress files to reduce the workbook file size.