Learn how you can use DataSnipper to perform and automate your cash confirmation procedures with Document Matching
Choose your DataSnipper version:
👉 DataSnipper version 4.1 and later
👉 DataSnipper version 4.0 and earlier
Video Tutorial
Example
Here you can download the workbook shown in the video including all of the sample data and documents.
ToD confirmation procedures - example
Template
Here you can download a blank version of the workbook shown in the video to use or customise for your own procedures.
ToD confirmation procedures - template
Prerequisites
- Completed and scanned confirmation responses imported into DataSnipper
- Any supporting evidence for alternative procedures such as bank or account statements or screenshots from a web portal/source system.
- Listing from your client's source system
Start procedure
- Start by importing all relevant document into DataSnipper, i.e., Confirmations, Bank Statements and Screenshots.
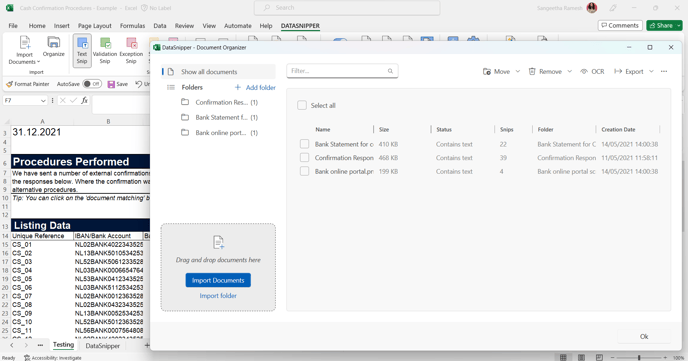
- Click on Document Organizer, Create folders for Bank Confirmation, Bank Statements & for any other supporting evidences to perform alternative procedures.
- Click on the Document Matching button in the DataSnipper Ribbon, and “Start new Document Matching”.
- Select your sample data. If your sample data includes headers, check on the box "First row includes headers" & click Next to select the relevant Document Folders.
- Cross check the output columns and adjust them according to your procedure.
- Click “Match all rows” and DataSnipper will automatically match the input and output columns for you
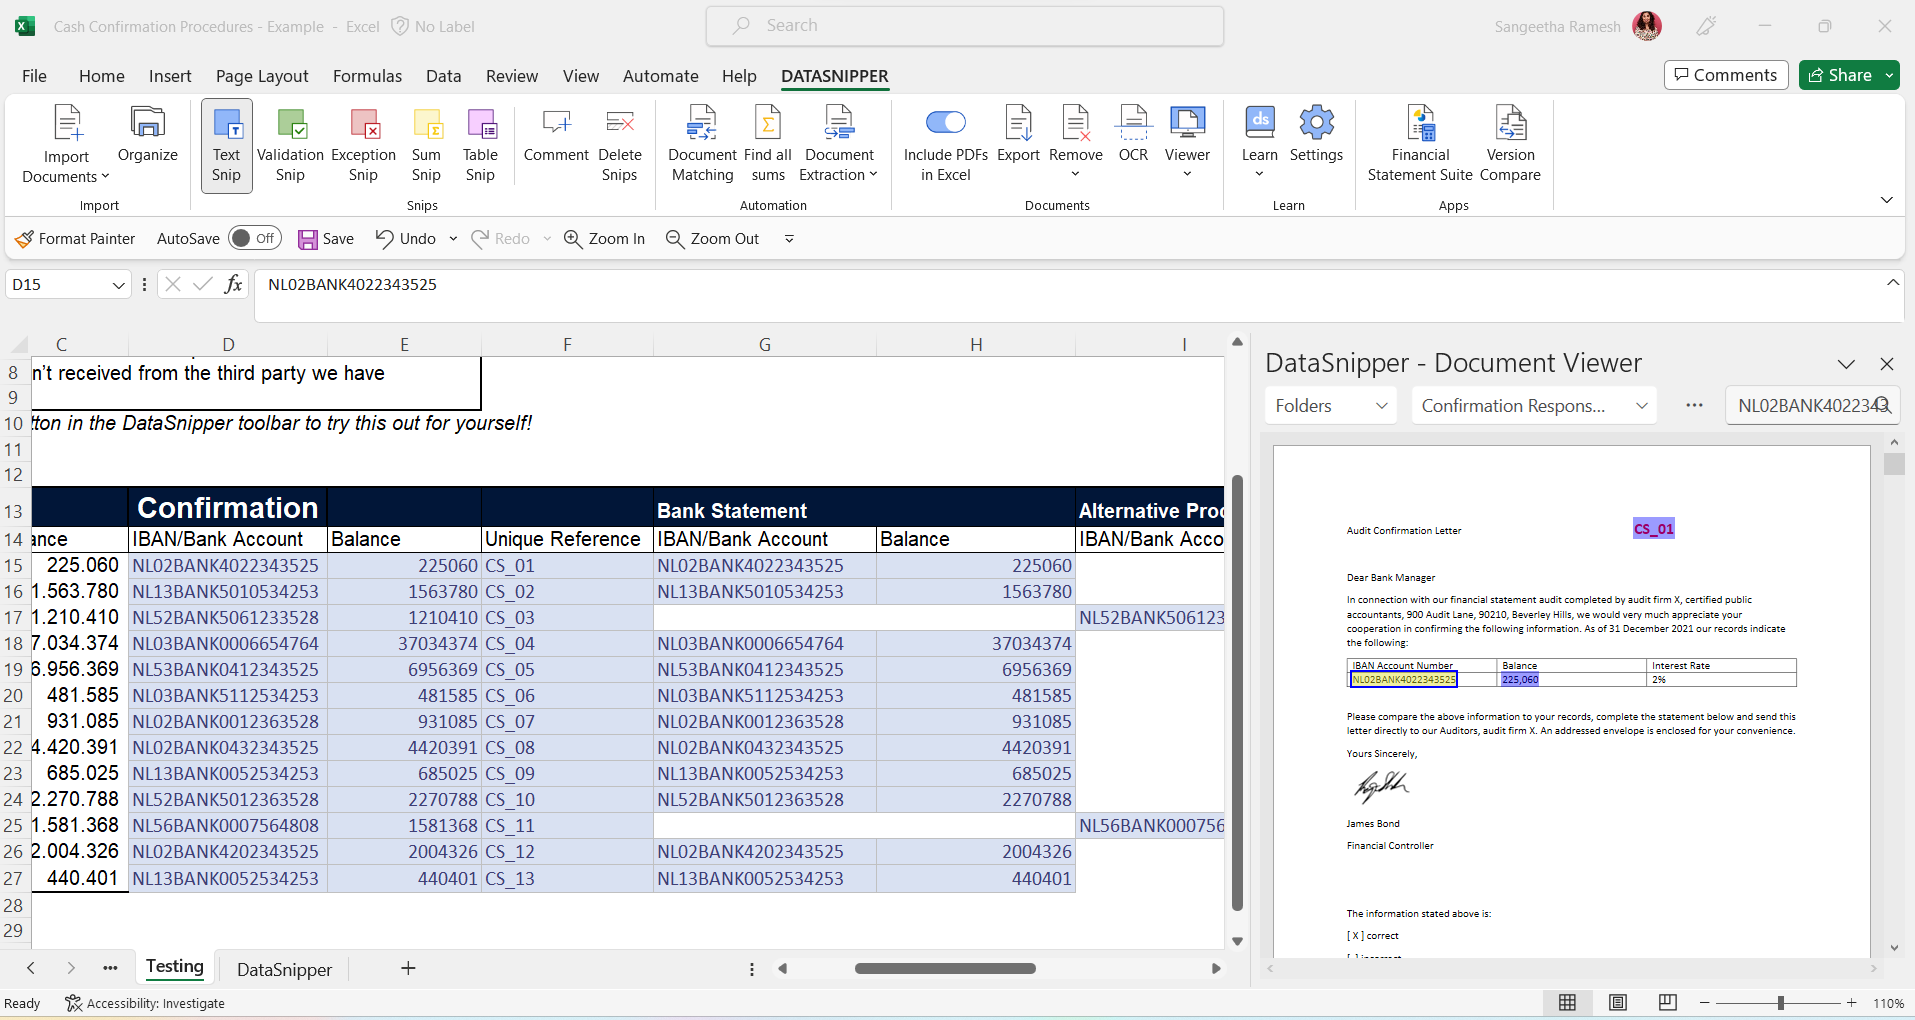
- Once the match is complete, you can review the output by moving through the snipped cells
You can use form extraction to create a table if you don't have a listing to match to, please click here to learn more
DataSnipper version 4.0 and earlier
Sharing the file
- You can choose to exclude all documents before saving the workbook in your audit file, by selecting the include/exclude documents toggle.
- You have some options to delete specific documents, please click here to learn more.